Learn HTML for Beginners: Create Your First HTML Page
Learn HTML for beginners by building a simple portfolio site. Tags, headings, links, lists, and a valid page structure as you go.
If you want to learn HTML for beginners, start by making a real page. I will walk you through a simple portfolio site that advertises your services, and you will pick up HTML as we go. CSS is the next guide. When you finish this one, you should have a working first page and a feel for how tags tell the browser what each piece of text is.
As you follow along, experiment. Change the copy, try a different heading, break something on purpose. You will learn faster if you think instead of copying every line.
So, what are we building?
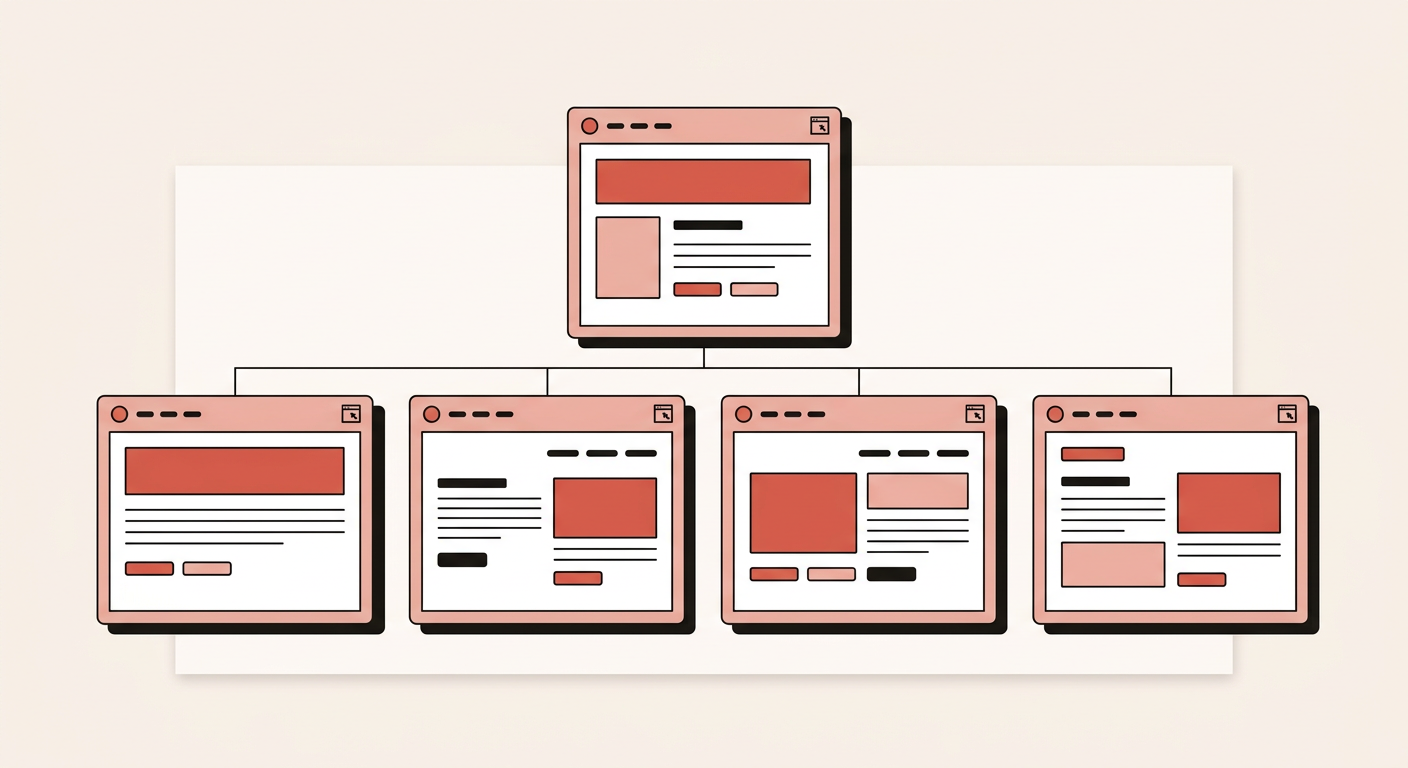
A portfolio website with the following pages:
- Home Page: An outline of what you offer.
- About Page: If you are a company or working solo (like me), this is the place for a mission, a team, or a short story about yourself.
- Portfolio Page: A list of your work. If you are a video editor, this is where previous jobs live.
- Portfolio Item Page: One page per item. Clicking an item on the Portfolio Page leads here. A website case study needs a write-up. A photographer’s photo page can be the photo and a short caption.
- Contact Page: A contact form, plus social links and other ways to reach you.
Static Website: A static website contains Web pages with fixed content. Each page is coded in HTML and displays the same information to every visitor.
— Definition by TechTerms
Required Tools
You only need a browser and a text editor to follow this guide. Keep the browser reasonably current. You can use any editor that can save .html and .css files. I recommend one of these:
- Sublime Text: Lightest of the two, a good start if you want something simple.
- Visual Studio Code: Heavier, and the one I use in the screenshots.
I’ll be using Visual Studio Code throughout this guide. Once you have a browser and an editor, we can build the first page.
Your First HTML Page
Let’s get right into it. First, create a folder anywhere on your machine and name it anything, then open that folder in your code editor. This is your project folder. Next, create an index.html file inside it.
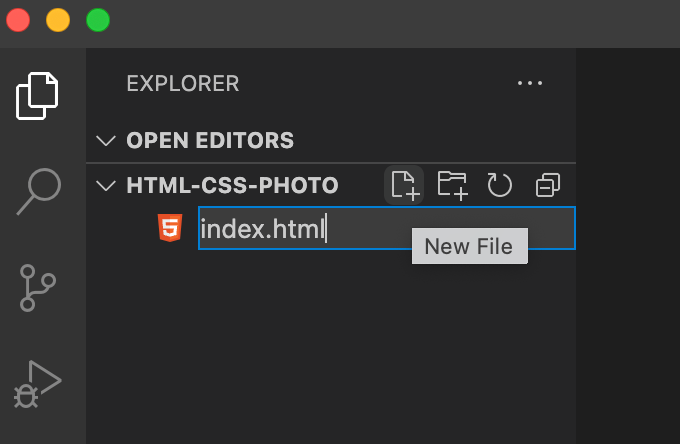
In your index.html file, copy and paste the following code. This is the base markup for the page.
<!DOCTYPE html>
<html lang="en">
  <head>
    <meta charset="UTF-8">
    <meta name="viewport" content="width=device-width, initial-scale=1.0">
    <title>Document</title>
  </head>

  <body>
  </body>
</html>
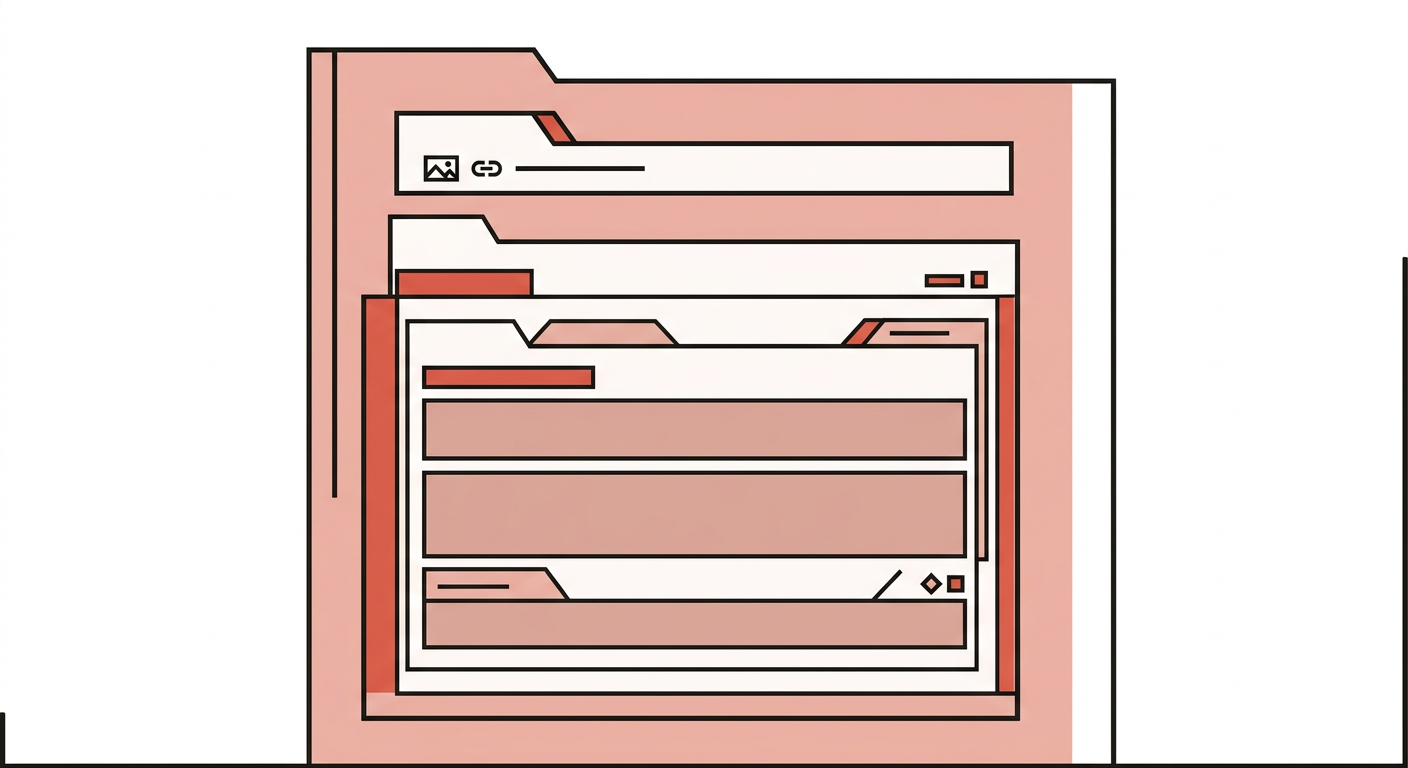
You don’t have to memorize all of that yet. Know that this is the base HTML structure a browser expects. For now, you only need four HTML tags: <html>, <head>, <title>, and <body>. Most HTML tags come in pairs, an opening tag and a closing tag: <title> and </title>. The pair wraps text or other tags, the way <html> wraps <head> and <body> above. The tags give plain text context. I think of the structure as folders on a computer: each tag is a folder, and the browser reads those folders and turns them into a page.
<html>— Wraps the whole page. Browsers can recover if you leave it out, but you should keep it. It is the root of a readable HTML file.<head>— Wraps the page’s metadata: charset, viewport, title, and later, links to CSS.<title>— The title of the page, shown in the browser tab.<body>— Wraps the content visitors actually see.
The <head> and <title> tags
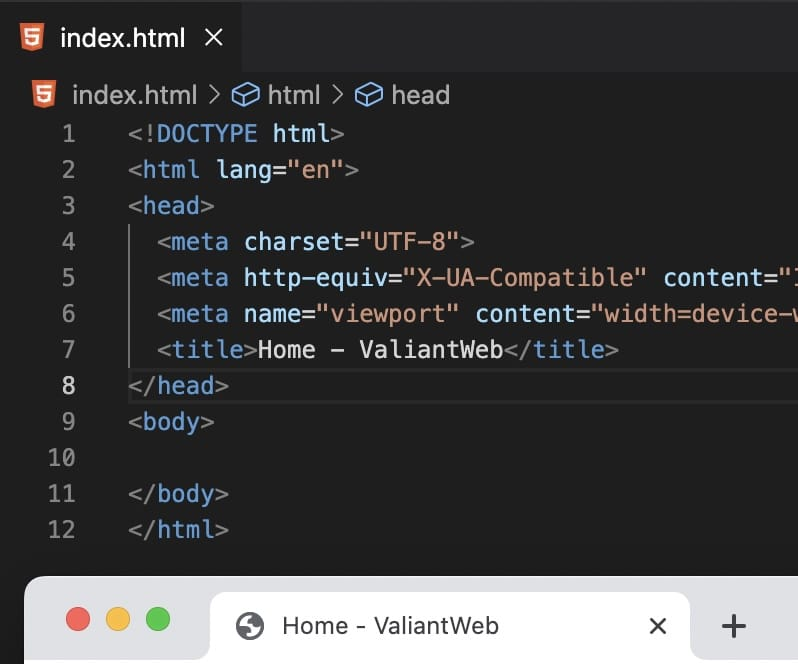
Your <title> tag lives inside the <head> tag. Keep it there. That is part of writing semantic HTML: using the tags that match what the content actually is, so browsers, search engines, and screen readers can make sense of the page. We will keep coming back to that as we add headings and lists.
Go ahead and change the text inside your <title> tag and open the file in the browser. It’s a blank page. That is expected. Look at the tab, and you should see your new title.
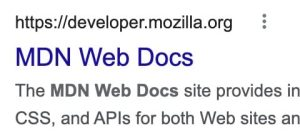
Here is how Mozilla’s MDN Web Docs home page looks in search results:
The <body> tag
This is where your content lives. Put content-related tags here to keep the page semantic. Add some text in the body, save the file, and refresh. You should see the text on the page.
<body>
  Hello, World!
  From my first web page!
</body>
The page shows that text on one line. The browser collapses line breaks, indentations, and extra whitespace around text.
The <p> and <br> tags
To put text on a new line, use a block-level HTML tag like this:
<p>Hello, World!</p>
<p>From my first web page!</p>
That should put each sentence on its own line. The paragraph <p> tag tells the browser the text inside it is a paragraph. There are other block-level tags. I’ll show you more as we go. Keep this in mind: a block-level tag starts on a new line. Another way to split a line is the line-break <br /> tag. This is a void HTML tag: it does not wrap anything and has no closing tag.
<p>Hello, World!</p>
<p>From my first web page!</p>
<p>John Doe<br />- CEO</p>
The <br> tag forces a line break. The spacing is tighter than a <p> tag, because <br> is for a break inside a block, not a new paragraph.
<br>. HTML accepts both. The slash form is leftover from XHTML.The heading tags
Now that we have a couple of paragraphs, we need headings to organize the content, and to tell the browser that a set of paragraphs belongs to this heading.
<h1>Welcome to My Website</h1>
<p>Hello, World!</p>
<p>From my first web page!</p>
<p>John Doe<br />- CEO</p>
There are six heading tags: <h1> to <h6>. They help people scan the page, they help screen readers build an outline, and they help search engines. How do we do this? Don’t skip a heading.
// Good implementation of headings.
-h1: Best Cameras for Street Photography
---paragraph
---paragraph
---h2: Fujifilm x100v
------paragraph
------h3: x100v Features
---h2: Ricoh GR
------paragraph
------h3: Ricoh GR Features

// Bad implementation of headings.
-h1: Best Cameras for Street Photography
---paragraph
---paragraph
-h1: Fujifilm x100v
---paragraph
---h3: x100v Features
---h2: Ricoh GR
------paragraph
------h4: Ricoh GR Features
Stick to one <h1> per page. Multiple <h1> tags will not make the file invalid, but one top-level heading keeps the outline easier to follow. Heading tags are block-level too, so each one starts on a new line.
The <a> tag
The anchor <a> tag creates a hyperlink. It is an inline-level tag by default, so you can drop a link into a paragraph or heading without breaking the flow of text. We can create external and internal links with <a>. Let’s start with an external link, so I don’t have to cover internal paths yet.
<h1>Welcome to My Website</h1>
<p>Hello, World!</p>
<p>From my first web page!</p>
<p>John Doe<br />- CEO. <a href="https://en.wikipedia.org/wiki/Seven_(1995_film)">Se7en</a></p>
I’ve inserted an <a> tag inside the last <p> tag, wrapping the word “Se7en”.
<a href="https://en.wikipedia.org/wiki/Seven_(1995_film)">Se7en</a>The href="" inside the <a> tag is an HTML attribute. Tags can take attributes, which the browser reads. For <a>, the browser uses href as the URL to open.
Numbered and Bulleted Lists
To create lists, use <ol>, <ul>, and <li>. The <li> tag is the list item inside a numbered (<ol>) or bullet (<ul>) list. Always put <li> inside one of those. A stray list item outside a list is invalid HTML, even if the browser still draws a bullet.
<ul>
  <li>List Item 1</li>
  <li>
    List Item 2
    <ol>
      <li>Numbered List Item 1</li>
      <li>Numbered List Item 2</li>
    </ol>
  </li>
</ul>
You can nest a list inside a list item, like the example above.
Summary
Before we move on to the next page, a quick recap:
- The basic HTML structure, and why nesting tags correctly produces a valid page.
- The
<head>tag that holds metadata, and the<title>tag that sets the title in the browser tab and in search results. - The home of the page’s content: the
<body>tag. - Block-level
<p>and heading tags, and a heading structure from<h1>to<h6>. - Inline-level
<a>tags that create an external (or later, internal) link. - Numbered and bulleted lists:
<ol>,<ul>, and<li>.
We have only covered a tiny fraction of HTML, but you can already publish a readable article page with the tags above. That page will look plain. I’ve left some formatting tags for you to find on purpose. Try looking up bold, italic, underline, and strikethrough. You may also want to center or right-align text. Look those up, then experiment. That is the fastest way to learn.
In the next guide, we style this page with CSS. If you already know you want a CMS instead of hand-written HTML, how to choose a web stack is the better next read. More build guides live in the build hub.
Frequently asked questions
What is HTML?
HTML is the markup language browsers use to display web pages. You wrap text in tags so the browser knows what each piece is: a heading, a paragraph, a link. A valid page starts with a doctype, then an html element that holds a head for metadata and a body for the content visitors actually see.
What do I need to start learning HTML?
A browser and a text editor. That is it. I use Visual Studio Code, but Sublime Text works if you want something lighter. Create a folder, add an index.html file, and open that file in the browser. You do not need a server, a framework, or a hosting account to follow this guide.
Why does heading order matter in HTML?
Heading tags tell the browser how the page is organized, not just how big the text looks. Use one h1, then h2 sections, then h3 under those. Skipping levels, or stuffing extra h1 tags on the page, makes the outline harder to read for people and for search engines. Do not skip a heading.
Can I build a whole website with only HTML?
You can publish a readable article page with the tags in this guide: headings, paragraphs, links, and lists. It will look plain until you add CSS. That is the next step, and I cover it in the beginner CSS guide. For a portfolio, you will also want images and a contact page, which we get to as the series continues.

Keep reading
How to Choose a Web Stack for a Client Project
How to choose a web stack for a client project. Match WordPress, Laravel, or Astro to the job, then pick hosting and tools that fit.
How to Make a Custom WordPress Theme: Theme Files Essentials
How to make a custom WordPress theme: the files you need, template hierarchy, the Loop, and how starter themes like Underscores fit.
Comments